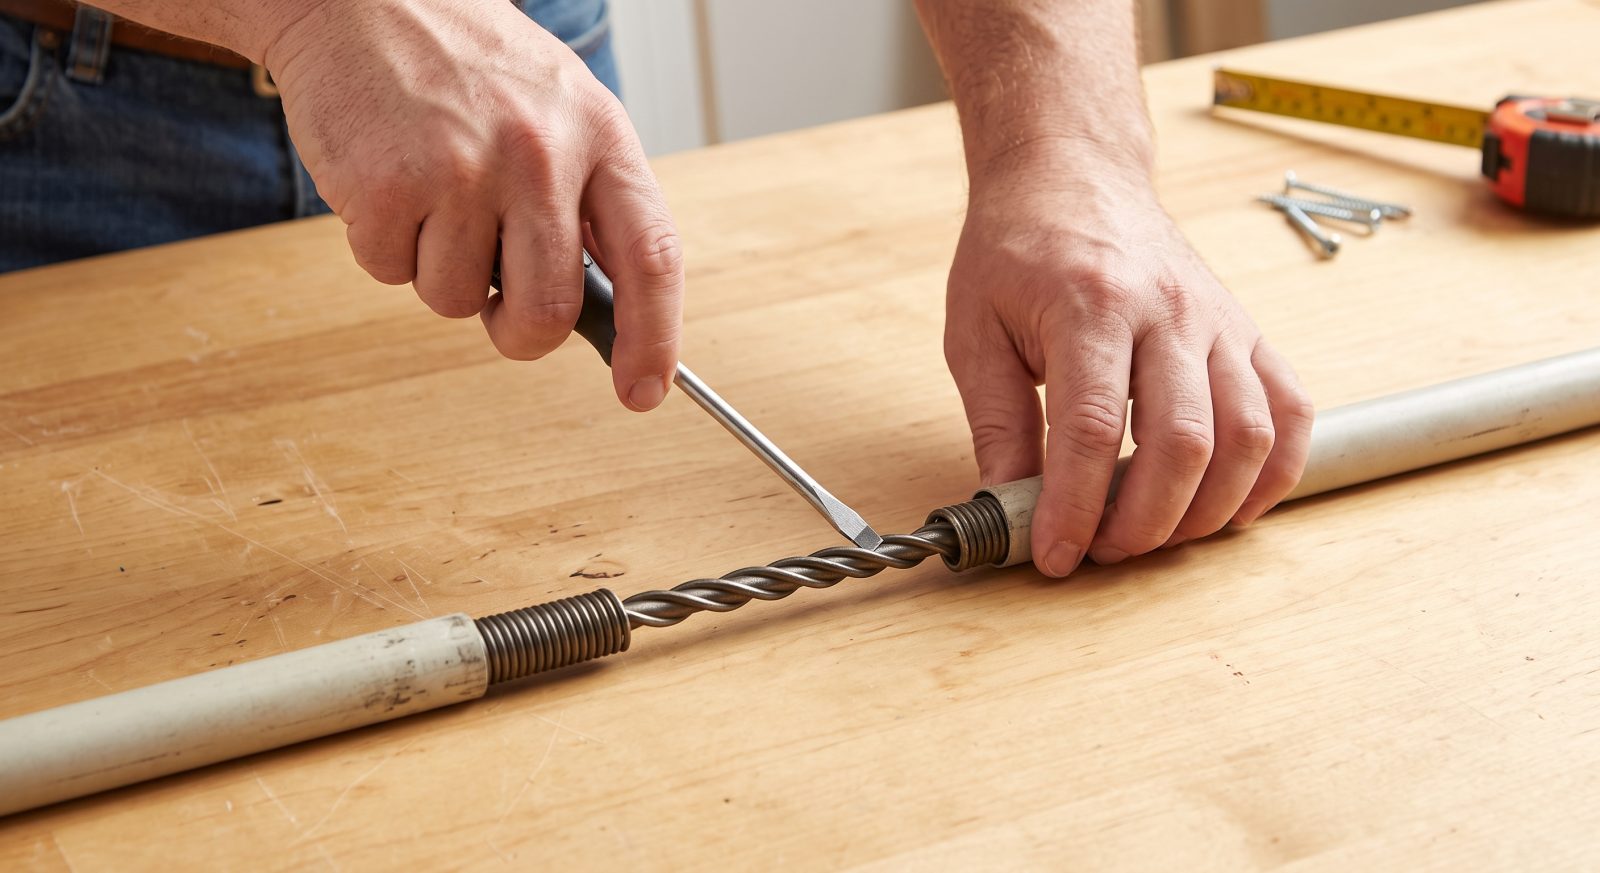
Short answer: A double-hung sash that slams shut or slowly slides down on its own has a failed or worn-out balance — the spring-loaded mechanism inside the jamb that is supposed to counteract the sash’s weight. Replacing that balance with a correctly matched spiral, block-and-tackle, or constant-force unit restores safe, hold-at-any-height operation and removes a documented fall and pinch hazard, particularly for households with small children (U.S. Consumer Product Safety Commission). This guide covers how balances work, why they fail, how to size and replace them correctly, and when to call a professional instead.
If you’ve ever propped a window open with a stick of wood or a paint can, you’ve already met a broken balance in person. It’s one of the most common double-hung window complaints, and it’s also one of the more affordable repairs to fix once you know how to identify the balance type and match the replacement part correctly.
What a Window Balance Actually Does
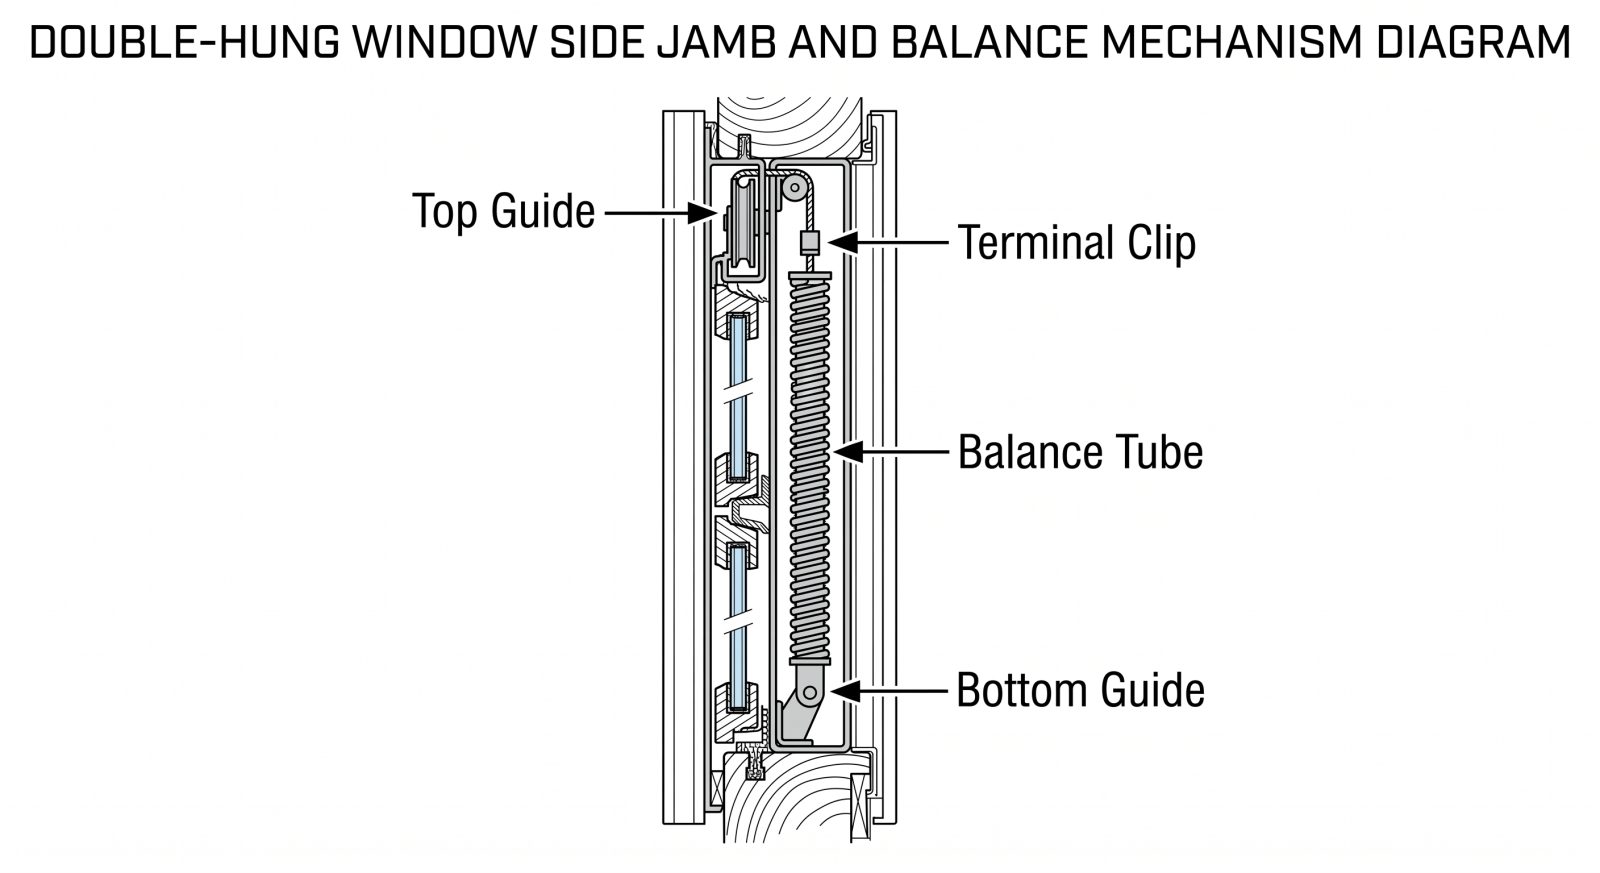
A window balance is the spring, coil, or weighted mechanism hidden inside the side jamb channels of a double-hung window that offsets the weight of the sash, letting it stay open at any height without added support (Alpha Sliding Doors). Without a working balance, gravity takes over: a light tap or a gust of wind can send the sash crashing down the track.
Older wood-frame windows commonly use a cord-and-weight system, where sash cords run over pulleys to counterweights hidden in the wall cavity. Most modern vinyl and aluminum double-hung windows instead use one of several spring-based systems, each with distinct maintenance and replacement procedures (Masterframe Trade).
Common Balance Types and How They Differ
| Balance type | How it works | Typical failure signs |
|---|---|---|
| Spiral (tube) balance | A twisted spring rod inside a metal tube pre-tensioned by winding; the tube slides in the jamb channel (Engineer Fix) | Sash drifts down slowly, feels lighter than before, or the tube spins freely with no resistance |
| Block-and-tackle (channel) balance | A coil spring inside a channel connects to a cord and pulley system that runs along the jamb (WindowServ) | Uneven sash movement, sash tilts to one side, visible fraying or snapped cord |
| Constant-force (clock spring) | A flat coiled metal spring, similar to a tape measure, unwinds and rewinds as the sash travels (Masterframe Trade) | Sudden loss of tension, sash slams shut with no resistance at all |
| Header-mounted sash spring | Spring units sit in the head jamb above the sash and connect via cords to plugs on the sash top edge (This Old House) | Sash won’t stay raised, cord visibly slack or detached from the plug |
| Cord-and-weight (traditional) | Rope or chain over a pulley connects the sash to a hidden counterweight inside the frame | Frayed or snapped cord, sash falls immediately when released |
Why Sash Drop Is a Real Safety Hazard, Not Just an Annoyance
A dropping sash is more than a nuisance — it is a documented cause of pinch, crush, and fall injuries. The CPSC estimates that 5,600 children age 12 and under were treated in emergency departments in 2024 after falling out of a window, with roughly one in three of those cases requiring hospitalization, and reports at least 25 window-fall deaths among children age 12 and under between 2021 and 2023 (CPSC, 2026). A peer-reviewed NEISS-based study covering 1990–2008 similarly found an average of 5,180 children treated annually for window-fall injuries, with head and face injuries in nearly half of cases where the injured body part was documented (Pediatrics / NEISS study).
A failed balance compounds this risk two ways. First, a sash that won’t stay propped open safely tempts occupants — often children — to use unsafe props or lean out further than intended. Second, a sash that slams shut unexpectedly can trap or crush fingers and hands resting on the sill or frame, a hazard specifically flagged in sash window safety literature covering jerky, stuck, or sudden-drop movement (Cherwell Windows safety guide). Because roughly 80 percent of fatal child window falls occur during the warmest months when windows are open more often, a broken balance is at its most dangerous exactly when it is most likely to be used (CPSC).
How to Diagnose a Failed Balance Before You Buy Parts
Before ordering a replacement, confirm the failure is actually in the balance and not a stuck track or a paint-sealed sash. Test the sash at multiple heights: raise it to about 25 percent, 50 percent, and 75 percent open, then let go without holding it — a healthy balance holds position at every point along that range (ViewLux Windows). If the sash drifts down slowly, that typically points to a weakened spring; if it drops instantly with zero resistance, the spring or cord has likely snapped or detached entirely.
- Sash slides down under its own weight after being raised — spring has lost tension or broken.
- Sash tilts or binds to one side while moving — one balance has failed while the other is intact.
- Spiral tube spins freely with no resistance when turned — internal spring has detached from the housing.
- Visible fraying, rust, or a snapped cord in the channel — cord-and-weight or block-and-tackle system needs replacement.
- Window feels unusually heavy or light compared to before — tension has shifted from its original calibration.
Measuring and Matching the Correct Replacement Balance
The single most common installation mistake is buying a balance that doesn’t match the sash’s actual weight and the frame’s dimensions. Manufacturers rate balances by weight capacity, and installing an under-rated balance causes the sash to drop again within months (Whitco Window Balance Systems catalogue).
- Weigh the sash. Remove it from the frame, place it flat on a bathroom scale, and record the weight in pounds; weigh the upper and lower sashes separately, since they often differ (ViewLux Windows).
- Divide by two. Each side of the sash carries one balance, so a sash weighing 11 pounds needs two balances rated for roughly 5.5 pounds each (Architectural Iron Company weight-calculation guide).
- Measure length and diameter. For spiral balances, measure the tube tip-to-tip and note the diameter (commonly 9/16 inch or 5/8 inch); for block-and-tackle systems, measure channel width and end-fitting style (ViewLux Windows).
- Record the stamped code. Most balances carry a manufacturer code on the tube or housing that encodes type, length, and weight range — photograph it before discarding the old unit (Engineer Fix).
- Count the release turns. On spiral balances, count how many rotations the spring makes as you unwind and remove it — you’ll apply the same number of turns to pre-tension the replacement (DIY forum technician notes).
Industry test standards back this precision up: AAMA 902, the Voluntary Specification for Sash Balances, sets minimum Manually Applied Force Ratio thresholds by balance class, and code-referenced fenestration standards such as ANSI/AAMA/NWWDA 101 require balances to be sized appropriately to hold the sash in position (AAMA 902 / ANSI-referenced specification). A balance that technically fits the channel but is rated for the wrong weight class will still fail the “hold at any height” test even when newly installed.
Step-by-Step Spiral Balance Replacement
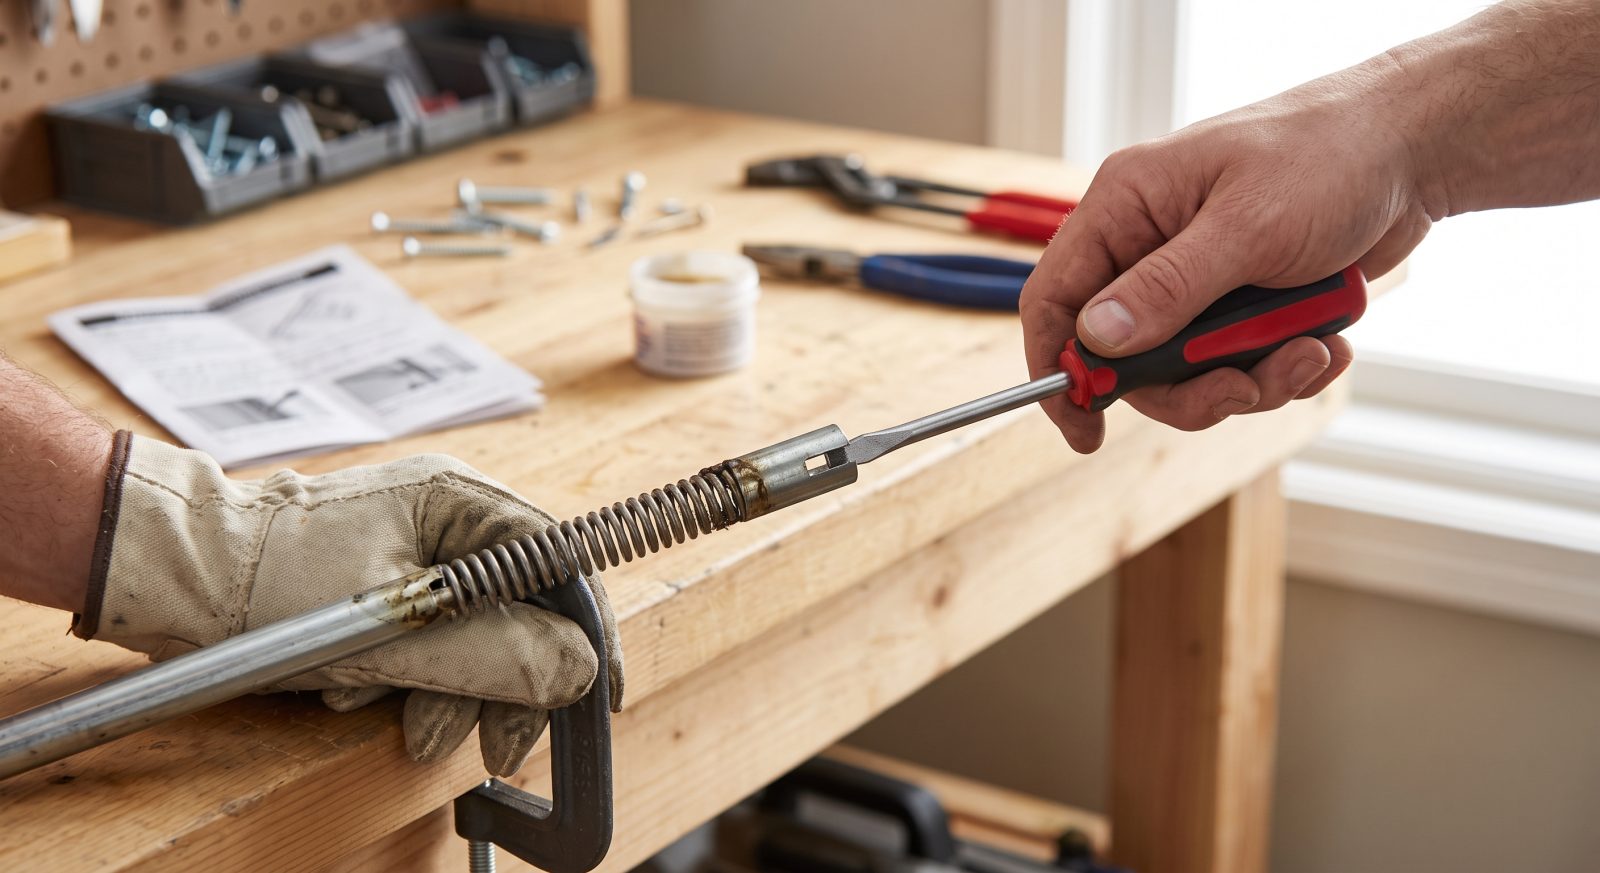
Spiral balances are the most common type in vinyl double-hung windows and the most DIY-friendly to replace. This sequence draws on manufacturer and contractor procedures for spiral-type units (Engineer Fix) (ViewLux Windows).
- Unlock and fully open the sash, then release the tilt latches at the top corners and tilt the sash 90 degrees toward you.
- Lift the sash free of the frame and set it aside on a padded surface.
- Locate the balance tube in the side jamb channel and count the turns as you unscrew the top mounting screw and unwind the old spiral for removal.
- Slide the old tube out of the channel completely.
- Insert the new balance tube into the same channel and secure the top mounting screw.
- Using a winding tool or flat-head screwdriver, rotate the spiral tip the same number of turns you recorded during removal to pre-tension the spring — typically three to five full turns per foot of window height as a general reference point.
- Attach the bottom tip to the sash’s pivot shoe and re-seat the sash into the jamb, aligning both pivot pins into their balance shoes.
- Test the sash through its full range of travel; if it drifts down, add one or two extra turns to the balance and retest.
Step-by-Step Block-and-Tackle and Header-Spring Replacement
Block-and-tackle (channel) balances and header-mounted spring units are common in wood and higher-end vinyl double-hung windows, and typically require accessing the head jamb above the sash rather than just the side channels (This Old House).
- Lower both sashes fully, then remove the screws holding the jamb liner to the side jamb and pull the lower half of the liner off.
- Remove both sashes from the frame, using pliers to disconnect the spring-loaded cords from each side.
- Unscrew the vinyl cover over the header and locate the staples or screws holding each old balance in place.
- Remove the old balancers and position the new units on the left and right sides of the header, securing each with screws.
- Replace the header cover, then reattach the spring-loaded cord to each sash using pliers to seat the plastic plug into the sash’s bored hole.
- Reinstall the sashes top first, then bottom, reconnecting both cords on each side before sliding the sash fully into the frame.
- Reinstall the jamb liner and test both sashes for smooth movement and proper hold at multiple heights.
Safety Precautions Before You Start
Balance springs store real mechanical energy, and mishandling them is the most common cause of pinched fingers during this repair. Technicians and DIY guides consistently flag the same precautions (DIY technician notes) (Alpha Sliding Doors).
- Wear work gloves and safety glasses — spiral tubes and coil springs are under tension and can spring back suddenly if released.
- Never let go of a spiral tube mid-unwind; hold it firmly until it reaches zero tension or is safely re-anchored.
- Replace both balances on a sash at the same time if they are the same age, since they wear at similar rates and mismatched tension causes the sash to tilt.
- Match length within about 1/8 inch and weight rating exactly — printed on the balance label — rather than estimating.
- Set the removed sash on a padded surface away from foot traffic while you work on the balance channels.
DIY vs. Calling a Professional
Spiral balance replacement is a manageable weekend project for most homeowners, with parts typically costing $145 to $285 per balance depending on type and rating (Alpha Sliding Doors). Header-mounted spring systems and older cord-and-weight setups involve more disassembly — removing jamb liners, accessing wall-cavity weights, or working around historic wood trim — and are worth handing to a window professional if you’re not comfortable working with sash weight and stored spring tension simultaneously.
Whichever route you choose, don’t defer this repair. A dropping sash is a known, quantified injury risk, and matching the correct balance type, length, and weight rating the first time avoids a repeat failure within a matter of months (Whitco Window Balance Systems).